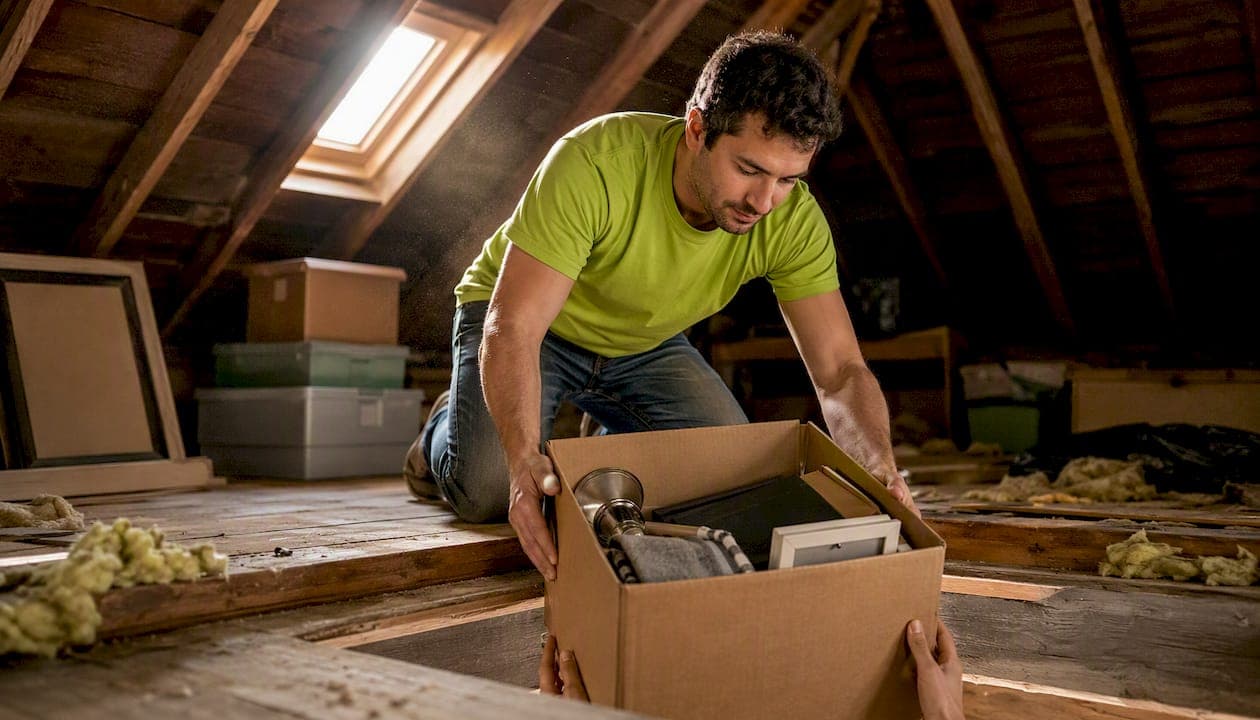
The fastest safe attic cleanout follows one sequence: plan your zones, sort every item into Keep / Donate / Recycle / Trash as you handle it, move heavy items last with a helper, then clean and inspect before anything goes back up. Hire a pro if you find mold, suspect asbestos, see rodent signs, or can't safely navigate the access. A small attic takes a single weekend DIY with a 10–15 yard dumpster running $250–$450; a packed or hazardous attic is a half- to full-day job for an insured crew.
Three things you can do right now:
- Clear the attic access and set a staging area on the floor below
- Gather your PPE: N95 mask, gloves, headlamp, and sturdy shoes
- Pick one 2-hour zone and start there — don't try to tackle the whole attic at once
Key Takeaways
A safe, efficient attic cleanout comes down to five things: the right PPE, a zone-by-zone workflow, four-pile sorting, honest hazard assessment, and a simple maintenance schedule to keep clutter from coming back.
| Point | Details |
|---|---|
| Zone before you sort | Work one defined area at a time; pulling everything out zone-by-zone prevents endless reshuffling. |
| PPE is non-negotiable | Wear an N95 mask, gloves, and a headlamp before entering; step only on joists or solid flooring. |
| Four-pile sorting | Assign every item to Keep, Donate, Recycle, or Trash as you handle it — never set something down to "decide later." |
| Know when to call pros | Mold, pests, suspected asbestos, exposed wiring, or heavy appliances are all reasons to hire an insured crew. |
| Easyscrapofficial for full-service jobs | Free quotes, insured crew, donation/recycling handling, and same-day options — Easyscrapofficial. |
Table of Contents
- What supplies and safety rules do you need before going up?
- How to clean out an attic: a step-by-step process
- Where does everything go? Disposal and donation options
- How long does an attic cleanout take, and what does it cost?
- When should you hire professionals for an attic cleanout?
- How do you keep your attic organized after the cleanout?
- What attic hazards should you inspect for before and during the cleanout?
- A simple maintenance schedule to keep your attic clean
- What the EasyScrap team has learned from attic jobs
- Easyscrapofficial handles the heavy lifting so you don't have to
- Sources
What supplies and safety rules do you need before going up?
Before you touch a single box, get your gear together. The U.S. Department of Energy recommends regular attic inspections for ventilation and insulation problems, and those same hazards are exactly what you'll face during a cleanout.
Supplies checklist:
- Headlamp or LED work light
- N95 or P100 respirator mask
- Disposable coveralls or washable work clothes
- Heavy gloves and knee pads
- Sturdy, closed-toe shoes
- Clear plastic bins, labels, and markers
- Heavy-duty trash bags
- HEPA-filter shop vac
Structural and air-quality rules:
- Step only on joists or solid flooring — never on drywall between joists
- Shut HVAC vents before you start to limit dust spread through the house
- Improve lighting before you move a single item; poor visibility causes falls
Pro Tip: If you see old gray or white insulation that looks like small pebbles (vermiculite), stop. That material may contain asbestos. Don't disturb it, don't vacuum it, and call an environmental inspector before continuing.
Stop and call a specialist if you find: visible mold, signs of rodent infestation, exposed or melted wiring, active roof leaks, or any insulation you can't identify with confidence.
How to clean out an attic: a step-by-step process
A systematic approach — take everything out, sort, clean, then reorganize — is consistently faster than sorting in place and dramatically reduces the chance of re-cluttering six months later.
- Prep. Lay down floor protection below the hatch. Set a staging area. Confirm your PPE is on. Per Town Bins' attic guidance, work early morning in summer (attics hit dangerous temperatures by midday) and mild afternoons in winter.
- Zone and remove. Pick one defined zone — say, the left third of the attic — and pull everything out before touching the next zone. This prevents the endless shuffle that kills momentum.
- Sort. As each item comes out, assign it immediately: Keep, Donate, Recycle, or Trash. Label Keep bins on the spot.
- Move heavy items last. Large furniture, old appliances, and bulky boxes come out after the small stuff is cleared. Use a helper and protect stair railings and flooring when carrying anything bulky through the hatch.
- Clean. Use a HEPA-filter vacuum or shop vac with a HEPA filter for insulation dust and debris. Wipe solid surfaces with a damp microfiber cloth; sweep exposed joists.
- Inspect. Before anything goes back up, check for roof stains, soft joists, mold, pest evidence, and wiring condition. Document any damage with photos.
Timeboxing reality check: a small, lightly packed attic takes 4–6 hours solo. A typical family attic with years of accumulation is a full weekend for two people. A packed or hoarder-level attic — get pros.
Pro Tip: Always bring a second person when carrying items through the hatch. One person guides from above, one receives below. It cuts the risk of a dropped item or a missed step on the ladder.
Where does everything go? Disposal and donation options
An eco-conscious cleanout sorts on-site for donation and recycling, diverting usable goods from landfills before anything hits a dumpster.
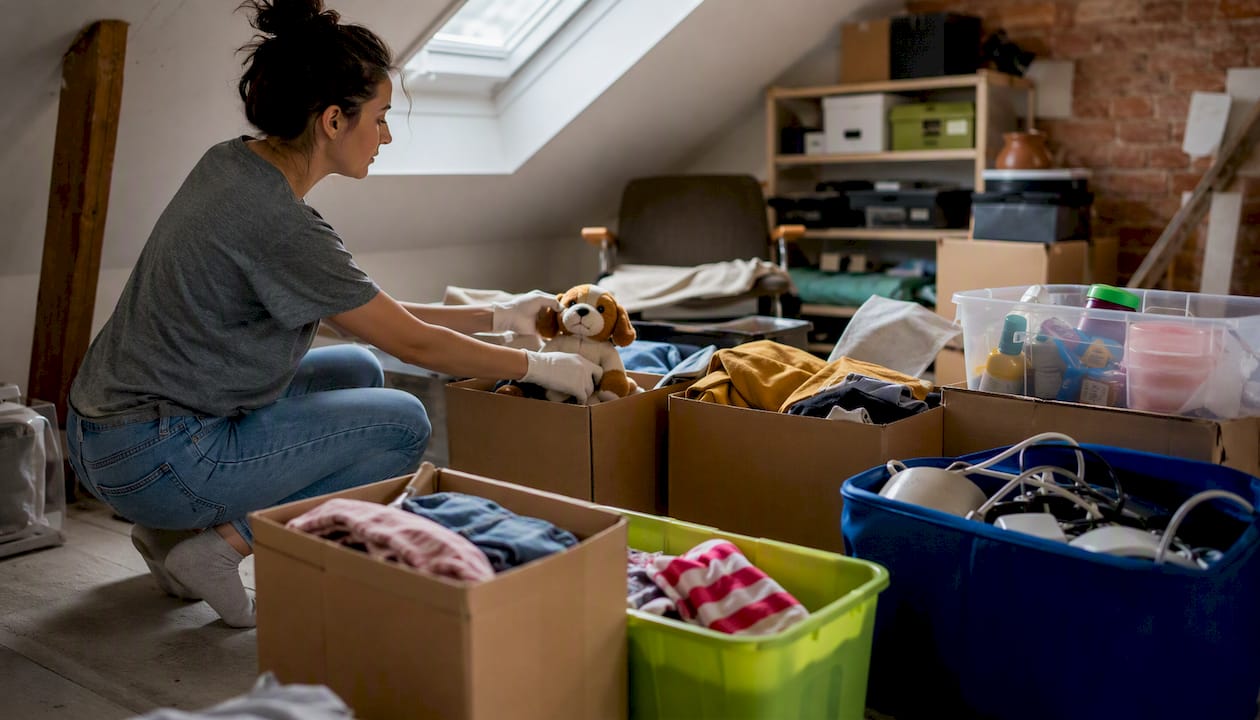
Donation: Furniture and household goods in good condition can go to Habitat for Humanity ReStores, Salvation Army, or local thrift organizations. Many accept large-item pickup. Clean items first, photograph condition, and measure large pieces so the charity can confirm they'll accept them.
Recycling: Separate electronics (e-waste), metals, and cardboard. Most U.S. counties have e-waste drop-off programs; check Earth911.com for local options. Metal scrap yards often take old appliances for free or a small fee.
Municipal bulky pickup vs. dumpster rental: If you have a moderate amount of large items, schedule a bulky pickup through your municipality — it's often free or low-cost. For a full attic cleanout, a rental dumpster is usually more practical.
Hazardous materials: Old paint, solvents, motor oil, and certain batteries cannot go in general trash. Use your local Household Hazardous Waste (HHW) program. Find your nearest drop-off at Earth911 or your county's waste management website.
Pro Tip: Keep donation receipts. The IRS allows deductions for donated goods at fair market value — a few boxes of furniture and clothing can add up to a meaningful deduction.
How long does an attic cleanout take, and what does it cost?
A small attic is a half-day DIY project. A packed one is a multi-day job, and tight access or hazardous materials push it firmly into professional territory.
| Attic size / condition | DIY hours | Pro crew hours | Typical disposal option |
|---|---|---|---|
| Small, lightly packed | 4–6 hrs | 2–3 hrs | Municipal pickup or 10-yd dumpster |
| Medium, moderately full | 10–12 hours | 3–5 hrs | 10–15 yd dumpster |
| Large or heavily packed | 2+ days | 5–6 hours | 15-yd dumpster or junk removal crew |
| Hazardous / hoarder-level | Not recommended | Full day+ | Pro hauling + specialist referrals |
DIY cost snapshot: Your main expense is dumpster rental. A 10-yard dumpster typically runs $250–$400; a 15-yard runs $275–$450, per Town Bins' cleanout guide. Add bags, bins, and PPE supplies.
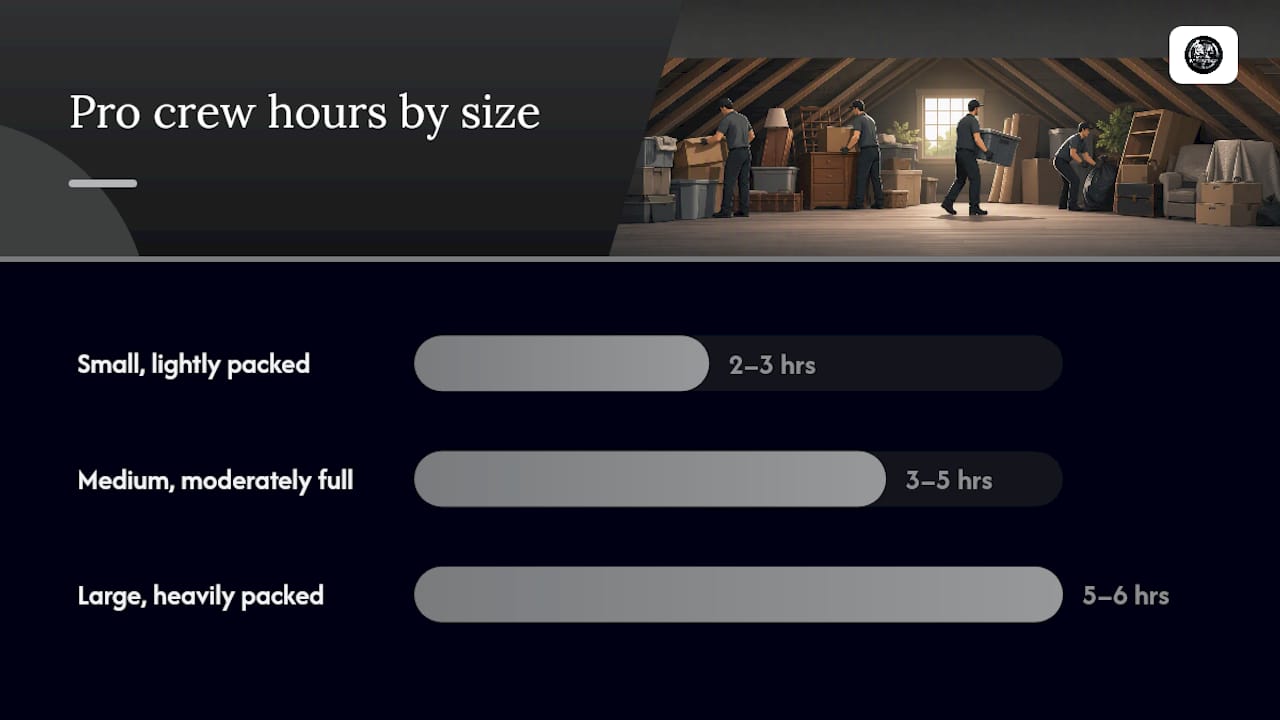
When hiring saves you money: steep or narrow stairs, heavy appliances, suspected mold or pests, limited mobility, or a hard deadline. A pro crew handles evaluation, sorting, lifting, hauling, and a broom-clean finish in a fraction of the DIY time.
Questions to ask before booking a crew:
- Are you insured and licensed?
- Do you handle donations and recycling, or just haul to a landfill?
- Are there extra fees for stairs, tight access, or hazardous materials?
- Will you leave the space broom-clean?
When should you hire professionals for an attic cleanout?
Hire pros when safety, access, or volume creates real risk — not just inconvenience. Professional crews evaluate access and volume, create a removal strategy, sort for donation and recycling, handle all lifting and loading, and finish with a sweep.
Hire a pro when you have:
- Structural concerns — soft joists, visible roof damage, or sagging areas
- Pest or mold signs — droppings, active mold, or water staining
- Bulky appliances or furniture that won't clear the hatch safely
- Limited mobility or no one to help carry
- A tight timeline — a pro crew finishes in hours what takes a homeowner a weekend
For complex, high-volume situations, the Hoarder House Cleanup guide covers safety protocols and what to expect from a professional crew on difficult jobs.
Easyscrapofficial's attic cleanout service offers free quotes, insured crews, donation and recycling handling, and same-day availability in select areas — use those as your baseline when comparing bids from any crew.
How do you keep your attic organized after the cleanout?
Clear, stackable plastic bins with tight-fitting lids are the single best investment for attic storage. They stack, they're visible, and they protect against humidity and pests better than cardboard ever will.
Storage dos:
- Use bins with gasketed lids in humidity-prone attics
- Anchor metal shelving to rafters or joists, not drywall
- Label every bin on the side, not the top — you'll be stacking them
- Keep a pathway down the center for easy access
- Place heavy items near the access point and on reinforced flooring
- Add desiccant packs inside bins where moisture is a recurring issue
Storage don'ts:
- Don't store food or unsealed fabric — both attract pests
- Don't stack bins so high you can't safely reach the top
- Don't overload joists; check your home's load rating if unsure
For broader home organization systems that complement attic storage, zone-based layouts work well — seasonal décor in one area, keepsakes in another, tools near the access.
Pro Tip: Place rodent traps along the perimeter walls if your attic has had pest activity before. Check them monthly. A single mouse can destroy a bin of keepsakes in a week.
What attic hazards should you inspect for before and during the cleanout?
If you see active mold, extensive rodent droppings, damaged insulation that might be asbestos, or exposed wiring — stop. Get a specialist before you continue.
- Roof leaks and staining: Look for brown or yellow stains on rafters and sheathing. Active leaks mean water is still entering; document with photos and call a roofer before storing anything.
- Soft or sagging joists: Press gently with your foot. Any flex or give beyond normal wood movement warrants a structural inspection.
- Pest evidence: Droppings, gnaw marks, nesting material, or live insects. A pest control professional should assess before you disturb the area.
- Insulation condition: Compressed, wet, or discolored insulation loses its effectiveness and may harbor mold. Damaged fiberglass or vermiculite-style insulation needs professional evaluation.
- Wiring: Exposed wires, melted insulation on cables, or DIY splices are fire hazards. Call a licensed electrician — don't tape and move on.
Pro Tip: Photograph every issue you find before touching anything. Those photos protect you with contractors, insurance adjusters, and future buyers if you ever sell.
Follow local HHW rules when disposing of any hazardous materials found during the inspection, and keep donation receipts for tax records per IRS guidance.
A simple maintenance schedule to keep your attic clean
Maintain with small regular checks rather than waiting for another full cleanout.
- Monthly (30 minutes): Quick visual scan for new leaks, pest signs, or shifted bins. Replace any desiccant packs that feel saturated.
- Seasonally (1 hour): Swap seasonal items (holiday décor in, summer gear out), refresh labels on any bins you've added, and rotate cardboard boxes to check for moisture underneath.
- Annually (half day): Full vacuum with a HEPA filter, structural inspection of joists and rafters, check insulation condition, update your bin inventory, and schedule a donation run for anything you haven't touched in 12 months.
What the EasyScrap team has learned from attic jobs
The single biggest time-waster on attic jobs isn't the volume of stuff — it's poor staging. When crews set up a proper staging area below the hatch before pulling a single item, on-site sorting time drops significantly. Items flow down, get sorted into donation, recycling, and trash piles in real time, and nothing gets re-handled twice.
The other lesson: always protect the floors below the hatch. A heavy box dragged across hardwood or a dolly wheel on carpet leaves damage that costs more to fix than the cleanout itself. Lay down moving blankets or cardboard before the first item comes down.
Easyscrapofficial handles the heavy lifting so you don't have to
When the attic cleanout is bigger than a weekend project — bulky furniture, old appliances, tight access, or a timeline that doesn't allow for multiple dump trips — Easyscrapofficial is the faster, safer alternative to renting a dumpster and doing it alone.
The crew handles everything: heavy lifting through tight hatches, on-site sorting for donation and recycling, responsible hauling, and a broom-clean finish. Appliance removal and furniture removal are included in the same trip. Free quotes, insured crew, and same-day availability in select service areas. Get your free quote at Easyscrapofficial and skip the multiple dump runs.
Sources
- How to Clean Attic: Step-by-Step Guide for Organized Spaces
- How to Clean Out Your Attic: A Simple Step-by-Step Guide
- Attic Cleanout Service | Action Junk Hauling
- Attic Cleanout Services | Clarity Cleanouts Virginia