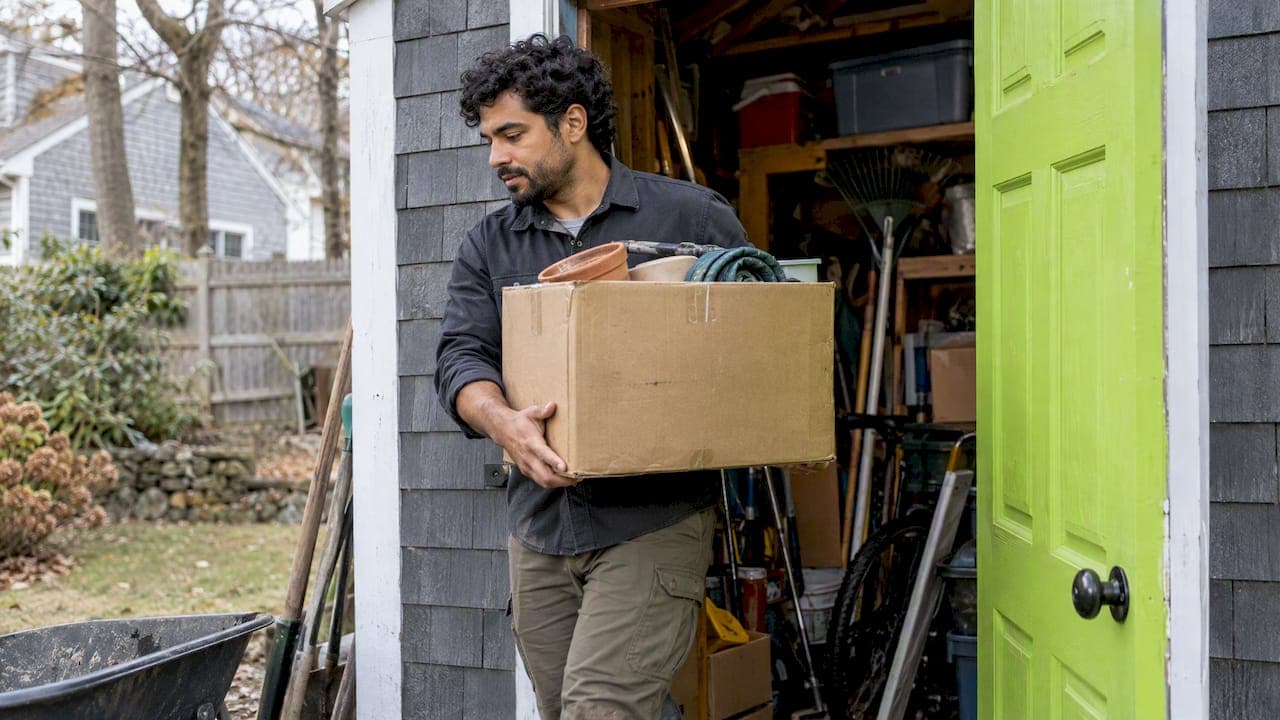
A shed cleanout comes down to four moves: empty it completely, sort everything into keep, donate, sell and discard piles, deal safely with anything hazardous or pest-damaged, then put back only what earns its place. Done alone, expect a full day for an average backyard shed, more if it has been years since anyone opened the door. If the pile is bigger than your truck or your patience, a junk removal crew can haul it in a single visit.
This guide walks through the whole job in order, with the safety steps that matter most when a shed has sat closed for a long time.
TL;DR
- Empty the shed entirely before you decide anything. You can't judge what you own while it is still packed to the rafters.
- Sort into keep, donate, sell and discard, and set aside paint, fuel, pesticides and batteries separately, because they usually can't go in the trash.
- If you see rodent droppings, do not sweep or vacuum them dry. Soak them with disinfectant first.
- Hire help when the load includes heavy items, a lot of debris, an estate's worth of belongings, or when you simply can't haul it yourself.
- Put back less than you took out, and label what stays.
Table of Contents
- Before you start: set up the job
- Step 1: Empty the shed completely
- Step 2: Handle rodent droppings and nests safely
- Step 3: Sort everything into piles
- Step 4: Separate hazardous items before anything goes in the trash
- Step 5: Clean the empty shed
- Step 6: Put it back smarter
- Shed cleanout checklist
- When shed junk removal makes sense
- How EasyScrap handles shed cleanouts
- Our perspective: shed cleanouts are a sorting problem first
- FAQ
- Sources
Before you start: set up the job
A shed cleanout goes wrong in predictable ways: no place to put things, no plan for what leaves, and no gear for what you find inside. Spend 20 minutes on setup and the rest of the day moves faster.
Pick a staging area. A driveway, lawn or garage floor works. Lay down tarps and mark four zones: keep, donate, sell, discard. A fifth zone, hazardous, is worth adding, and we explain why below.
Gather supplies. Heavy-duty trash bags, work gloves, a dust mask, safety glasses, a broom, a bucket, paper towels, a bleach solution or EPA-registered disinfectant, and a hand truck if you have one. The EPA advises goggles, an N95 respirator and gloves when handling debris during cleanup. That guidance was written for disaster cleanup, but a closed-up shed full of dust, droppings and old chemicals calls for the same protection.
Check the weather and the time. Pick a dry day. Wet cardboard, rugs and upholstery get heavier and moldier by the hour. Start early so the hauling and drop-offs happen in daylight.
Line up where things will go. Before you carry anything out, know which charity takes furniture, where your town's transfer station is, and whether you'll need a hauler. Scrambling for answers with a lawn full of stuff is how cleanouts stall for three weeks.
Step 1: Empty the shed completely
It is tempting to sort inside the shed, shifting boxes from one side to the other. Resist it. This Old House recommends removing all contents first, which gives you a blank canvas, an accurate sense of the space and a better plan for what comes back.
Work from the door inward. Take out the items nearest the entrance first, then move deeper. Lift heavy things with your legs, and get a second person for lawn tractors, workbenches, tile stacks or anything with a gas tank.
As you carry things out, drop each one directly into its zone. Don't make a "maybe" pile. A maybe pile just becomes a second shed on your lawn. If you're unsure, put the item in keep for now and revisit it in Step 3.
Check for pests as the space opens up
Corners, shelves and the area behind stored items are where mice, wasps and spiders settle in. Heartland Sheds suggests inspecting corners for pests, checking for mold or mildew, and looking for holes or cracks on both the interior and exterior before you clean. Do this walk-through with the shed empty and a flashlight in hand. Note anything that needs a repair so you can fix it before you put things back.

Step 2: Handle rodent droppings and nests safely
If you find droppings, shredded insulation or nesting material, stop and change your approach. Sweeping or vacuuming dry droppings can put harmful particles into the air, which you then breathe.
The CDC's guidance for cleaning up after rodents is specific:
- Do not sweep or vacuum the droppings or nesting material.
- Spray them with a bleach solution or an EPA-registered disinfectant until they are very wet, and let them soak for 5 minutes. The bleach mix the CDC gives is 1.5 cups of bleach per 1 gallon of water.
- Wipe them up with paper towels.
- Put the towels in a covered garbage can.
- Disinfect the hard surfaces they touched.
Wear gloves and a respirator for this part. If you find a heavy infestation, such as many nests, a strong smell, or droppings throughout stored boxes, consider having a pest control professional assess the shed before you finish the cleanout. Cardboard boxes and fabric that mice have nested in are usually better discarded than saved.
Step 3: Sort everything into piles
Now the decisions. This Old House recommends sorting into keep, donate, sell and discard, and also grouping like items together so you can see what you really own. You will usually find you have four rakes, three half-empty bags of fertilizer and two hoses that no longer hold water.
A few rules make the sorting faster:
- Keep only what you've used in the past two seasons, or what is truly seasonal and works. Ask whether you'd buy it again today.
- Donate anything clean, working and complete. Working tools, patio chairs, planters and sturdy bikes are good candidates.
- Sell items worth the effort of listing: a running mower, a good ladder, a quality power tool. If it won't sell in a week, move it to donate or discard.
- Discard anything broken, rotted, moldy, rusted through or missing parts that make it unsafe.
If you want a quick way to judge borderline items, our guide on three on-site tests for what to donate or trash gives a fast method. For tips on getting charities to actually accept your items, read how to get donations accepted in one visit.
Things that should not have been in the shed
Some belongings don't belong in a shed even if you keep them. A shed swings through hot and cold, damp and dry. Shedsdelivered's checklist lists items that should not be stored in sheds: anything that must stay temperature-stable, paint that will freeze, documents, textiles you care about, and food. If you find these, move them into the house or garage as you sort.
Step 4: Separate hazardous items before anything goes in the trash
This is the pile that surprises people. Sheds collect old paint, stain, pesticides, fertilizers, gas cans, propane cylinders, solvents and batteries. The EPA's Tribal Waste Journal lists paints, batteries, fertilizers, pesticides, fuels, propane and solvents as household hazardous waste that should not be poured down drains, onto the ground or into storm sewers.
How you handle them depends on your town. In Massachusetts, the state's guide to managing hazardous household products says to save leftover paints containing toxics, and banned or unregistered pesticides, for a household hazardous waste collection day or a commercial hazardous waste facility. It also says dried-up toxic paints and adhesives can go in the trash. New Hampshire towns run their own collection programs, so check your town's website or public works office for dates and what they accept.
Practical handling tips:
- Keep everything in its original container. If a container is leaking, overpack it in a tight, larger container.
- Never mix products.
- Store the hazardous pile out of the sun and away from kids and pets until drop-off day.
- Collection days are periodic, so you may need to hold these items after the rest of the shed is done.
A junk removal crew generally can't take hazardous materials, so ask about this when you request a quote. Planning for it up front avoids a rejected pickup.
Step 5: Clean the empty shed
With the shed empty and any droppings dealt with, you can finally clean it properly. Heartland Sheds recommends sweeping dirt, dusting shelves, removing cobwebs, cleaning windows, mopping floors and cleaning spills, including oil spills. Work top to bottom so dust falls onto surfaces you haven't cleaned yet.
A sensible order:
- Knock down cobwebs and wasp nests from the ceiling and corners.
- Wipe or vacuum shelves and window ledges.
- Sweep the floor, then mop it.
- Treat oil and gas stains with an absorbent such as cat litter, then sweep it up and dispose of it according to local rules.
- Leave the door open so the floor dries fully.
If you want a general reference for room-by-room cleaning, a deep cleaning checklist shows how professionals order the work.
Clean the tools you're keeping
Garden tools carry soil and plant debris, and that debris can shelter plant pathogens. University of Minnesota Extension advises removing soil and plant debris first, then disinfecting according to the product label, and letting tools dry completely before they go back into storage. Cleaning off organic material first helps the disinfectant do its job, and full drying cuts down on storage problems like rust.
Repair before you refill
Patch holes, replace rotted floor boards, reseal gaps under the door and fix leaks in the roof now. Otherwise you are putting your clean belongings back into the same conditions that ruined the last batch.
Step 6: Put it back smarter
The goal is a shed you can walk into and find things in. This Old House suggests you measure large items, count smaller supplies and assess shelf and container space before choosing a storage system. Buying shelving first, then discovering it doesn't fit the mower, is a common mistake.
Wirecutter's guidance is to use sturdy, adaptable shelving, clear bins and labels so stored items stay visible, grouped and easy to find. Some layout rules we'd add:
- Put the things you use weekly (mower, trimmer, hose) near the door.
- Keep seasonal gear (snow shovels, holiday decorations) in the back or overhead.
- Mount long-handled tools on the wall to free up floor space.
- Keep chemicals on a high, closed shelf, away from children.
- Raise anything absorbent off the floor.
After that, Keter suggests sweeping the shed monthly as a simple maintenance habit. It takes five minutes and stops the shed from sliding back into chaos.
Shed cleanout checklist
| Stage | What to do | Done |
|---|---|---|
| Prep | Tarps down, zones marked, gloves, respirator and goggles ready | |
| Prep | Know where donations and hazardous waste are going | |
| Empty | Remove all contents, nearest the door first | |
| Inspect | Look for pests, mold, holes and cracks with a flashlight | |
| Pests | Soak droppings with disinfectant, wipe, bag; never sweep or vacuum dry | |
| Sort | Keep, donate, sell, discard, plus a hazardous pile | |
| Dispose | Hazardous items to collection day, donations dropped off, trash hauled | |
| Clean | Cobwebs, shelves, floor, oil spills, tools disinfected and dried | |
| Repair | Roof, floor, door seal, any holes | |
| Restock | Measure, shelve, label, keep seasonal items out of reach |
When shed junk removal makes sense
Most people can sort a shed themselves. The hauling is what stops them. Consider hiring a crew when:
- The load is heavy or awkward. Old mowers, workbenches, treadmills, hot tubs, water heaters and broken appliances are hard on backs and tough to fit in a car.
- There's a lot of it. If your driveway pile looks bigger than one pickup load, two or three dump runs can eat a whole weekend.
- It's not your shed's contents alone. Inherited properties, landlord turnovers and pre-sale cleanouts often involve a shed on top of a garage, basement and attic. Our guides on cleaning out a parent's house and what to do when a tenant leaves junk behind cover those situations.
- You can't lift or don't have a vehicle. That's a perfectly good reason to call someone.
- A deadline is close. Listings, closings and move-outs don't wait for a free Saturday.
What to ask before you book
Whatever hauler you hire, ask these questions so there are no surprises on the day:
- Are they insured? An insured crew protects your property, fence and driveway if something goes wrong.
- How is the price set, by volume, by item or by hour, and is the quote free?
- Do they donate and recycle usable items, or does everything go to the landfill?
- What won't they take? Hazardous waste, paint, fuel and propane are common exclusions.
- Can they reach the shed, and will they carry items from inside it, or only from the curb?
- How soon can they come?
Be skeptical of any flat "starting at" price for shed work. A shed may hold three bags of trash or a lifetime of stuff, so a real price depends on what is inside and how far the crew has to carry it.
If you're removing the shed itself, not just its contents, note that demolition and disposal are a different job from cleaning out. Tear-down and permit questions for the structure should be settled with your town's building department first.
How EasyScrap handles shed cleanouts
We're a local team serving Lawrence, Andover, Boston, Lowell and Haverhill, and we haul from homes and businesses every week. For a shed, our crew carries everything out of the shed, sorts what can be donated or recycled, and takes the rest away. We offer free quotes, and our crew is insured. We can also pair the shed with other spaces on the same visit. See our garage cleanout and basement cleanout pages, or tell us about the whole job through our junk removal service page. If you need a spot cleared fast, ask about same-day availability.
Our perspective: shed cleanouts are a sorting problem first
We see the same pattern on shed jobs. People assume the hard part is the lifting. Usually it's the decisions. A shed is where "I'll deal with it later" goes to wait, so a cleanout is really years of postponed choices arriving at once.
That's why we tell customers to do two things before we arrive. First, pull out anything they know they want to keep, such as family tools, sentimental items and anything of real resale value. Second, move paint, fuel and pesticides into one visible spot so we can flag them early. Everything else, we can handle on the day.
We also think donation should be the default for usable items, not an afterthought. A working wheelbarrow or a good patio set has a second life. Habitat for Humanity's ReStores, for example, accept donated goods and put proceeds toward affordable housing, so what you donate has a local impact. It keeps usable things out of the landfill, and that's part of how we run our business.
If the shed is one part of a bigger project, such as an estate or a storage unit, plan the order of work so the biggest decisions come first. Our storage unit cleanout guide shows how sorting ahead of time prevents pickup surprises, and the same logic applies to sheds.
— Easy
FAQ
How long does a shed cleanout take?
For a typical backyard shed, plan on most of a day when you do it yourself: a couple of hours to empty it, a few to sort, and the rest to clean and haul. A heavily packed or pest-damaged shed can take a weekend. A crew with the right equipment can often finish the hauling in one visit.
Can I throw away old paint, gas and pesticides with the rest of the shed junk?
Usually not. The EPA classes paints, fuels, pesticides, solvents, propane and batteries as household hazardous waste, and Massachusetts advises saving many of them for a collection day or a hazardous waste facility. Rules differ by town, so check your local public works office or board of health before you toss anything.
How do I clean a shed with rat droppings?
Don't sweep or vacuum them. Soak the droppings with a bleach solution or EPA-registered disinfectant until very wet, wait 5 minutes, wipe them up with paper towels and discard the towels in a covered garbage can, then disinfect the surfaces. The CDC describes this method, and you should wear gloves and a respirator while doing it.
What's the best way to organize a shed after cleaning it?
Measure your large items first, then buy shelving, clear labeled bins and wall racks to fit. Keep frequently used items by the door, seasonal gear toward the back, and chemicals up high and closed. Sweeping monthly keeps it from backsliding.
Sources
- How To Organize a Shed, This Old House
- How to Clean Up After Rodents, CDC
- EPA tools to assist cleanup, U.S. EPA
- Tribal Waste Journal: Household Hazardous Waste, U.S. EPA
- Guide to Safely Managing Hazardous Household Products, Mass.gov
- How to Clean Your Shed, Heartland Sheds
- How to Clean a Shed: Complete Cleaning Checklist, Sheds Delivered
- How to Disinfect Tools and Equipment, University of Minnesota Extension
- Four Tips to Help You Organize Your Shed or Garage, Wirecutter
- Storage Shed Organization 101, Keter
- Donate goods to Habitat for Humanity ReStore